

Want to make a granny square blanket but not sure how to keep it flat? Here's how to block your granny squares.
What is blocking?
Blocking is a method that makers use to shape or flatten their knit or crochet projects. If you use natural fibres such as wool, you may benefit from blocking your pieces. The process of blocking will help to flatten any curling edges and balance any uneven stitches. It doesn't have to be expensive or particularly risky.
Blocking is not compulsory but it can help especially if you are selling the finished work or giving it as a gift. It opens out lace or openwork and relaxes the fabric. It's also an opportunity to shape things to the desired dimensions.
You would iron your garments if you'd sewn them to give a professional finish, so why not block your knitting and crochet projects? It's the same principle.
When it comes to squares, they can be blocked in several ways but I'm going to show you how to block them with water and a foam mat.
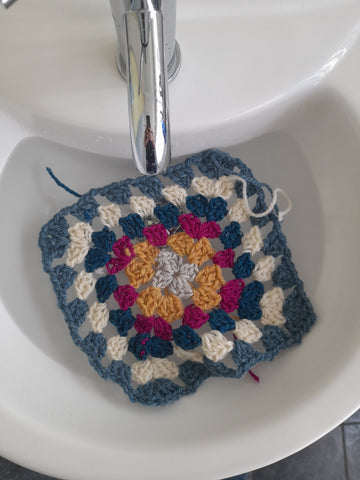
As part of the #StashBlanketCAL I am making a granny square blanket out of the aran yarn that I have in my stash. I'm really enjoying mixing the colours and making what I can with what I have. The yarn I am using is made from Shetland wool so I am blocking it to help flatten the pieces. This will give me a flatter blanket overall.
In this instance, blocking will help me to match up my granny squares and join them easily, as I will be able to see where edges match up.
I'll show you how I block my squares.
Step 1: Soak the square
You can buy a suitable soak wash for your knitting and crochet but I just use warm water.
I haven't noticed any difference in using a soak. I barely smell the fragrance or feel a difference in the fabric. I could just be doing it wrong but I've mostly always used warm water and save the wool wash bottle for hand washing.
Step 2: Squeeze the square to get rid of excess water.
When pulling your pieces out of the water, don't ever wring them. Always squeeze.

Step 3: Lay the piece on a towel.
I'm just using a hand towel because it's just a granny square. For a jumper, I'd use something bigger. Squeeze as much water out of the square as you can with the towel and finish off with rolling it up. Either squeeze the towel or lean on it. I use my body weight to flatten the towel burrito.

Step 4: Roll it up
This just adds a bit more pressure. It's like wrapping your wet hair up in a towel after having a shower. It takes another layer of moisture off the piece. Do this nice and tight.

Step 5: Squeeze the burrito.
You can do this by squeezing it in your hands or kneel on it. I use my body weight if it is a larger project.

Step 6: Pin it in place.
I use foam play mats because the pin goes in with minimal resistance whole still holding the yarn for me. I also like how portable the mats are. Sometimes I need to keep my things blocking out of reach of tiny hands. I use T pins. They're a special shape of pin and the T stops the work from slipping off. Pin to your desired dimensions. I started with the corners first.


Now what?
You just have to wait until it is dry now. Give it 48 hours or so depending on temperature and humidity. While you're waiting, you can make some more squares!

I hope this was helpful. Do you like to use any other blocking methods? Let me know in the comments!
Hanna
See also: